How To

[How-to] Change App Icons on Android Smartphones and Tablets

Android open source mobile operating system by Google is popular for its open standards and this uniqueness has made it most favored mobile operating system not by smartphone users but also for smartphone manufacturers. Android’s openness gives it the scope of modifications and customization so that when users get bored of looking at the same thing again and again they have the access to modify it without any pain.

Android-Menu-Icons
Image Source : Enfew

We humans always have this desire to get what we don’t have. Ever wished to have app icons which would look something funky or colorful or 3D or maybe flat? Developers and designers across the globe do have something for you.
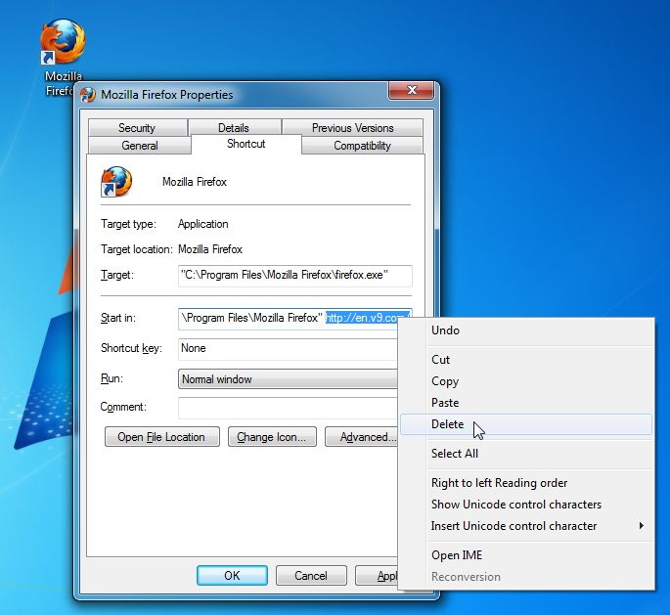
Changing icons on Android is simple as installing an application. You literally have to do nothing in order to get your favorite icon pack. Follow the step-by-step guide below on how to change the icons and feel the refreshing look on your same old Android smartphone or tablet.

android_iconpack_by_gmadzl-d2skr11
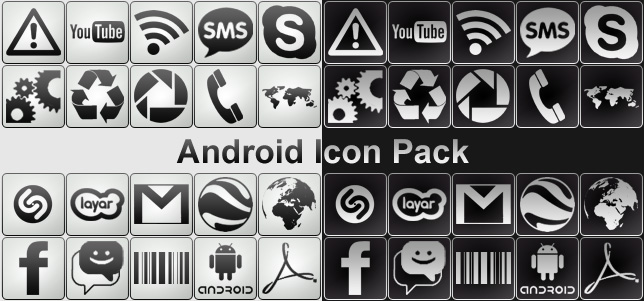
Image source : Devianart gmadzl-d2skr11

App icons are available as packages which can be downloaded from the Play Store. So you don’t have to hunt around for them. But you have to make sure that you are using Nova launcher or Apex launcher because the stock launcher does not provide this option.

  1. Search for the icon pack you want. There are plenty of them available on the Play Store. Some of them are MNML White, Sense 5, MeeUI, Stark etc.
  2. After choosing the one, search for the icon pack on the Google Play Store and hit install.
  3. After installing the icon pack, select the installed package from the settings of the launcher.
  4. And its done. Simple isn’t it?

If you are still left with any queries feel free to contact us on our Twitter handle @idigestindia, our Facebook Page or you can leave a comment below.

[How-to] Download and Install Android 4.3 Jelly Bean On Nexus Devices

With Google impromptly releasing the factory images of the just announced Android 4.3 some of the users might be excited to get the new update asap.

Android 4.3 Factory Image Screenshot

There are two ways to update to the latest firmware. First is specifically for users with a custom recovery and the other is generic for all. In case you are not familiar with the flashing process we will not suggest you to do anything and instead wait for the OTA update.

The generic guide is itself mentioned on the Factory Image download page and you can follow up from there. In case you have the custom recovery installed, you can do it the easy way mentioned below.


Disclaimer : Intellect Digest does not take any responsibility if there is any harm done to your device. Flash at your own risk.

Procedure:

  • Download the update from download page.
  • Save the update to internal memory or SD card of your Android device.
  • Boot into custom recovery by restarting the device and holding vol up + power key.
  • Select “Install zip from sd card”
  • Choose the update package and select ‘Yes’
  • Wait till the process completes and done.

[How-To] Take Screenshots On Any Mobile Operating System

Screenshots might not come handy for general masses but it comes very much in use for us bloggers. Screenshot is a screen capture of whatever is running on your current screen. So the next time, when you want to note down some information can be while reservation of some tickets or any transaction numbers after payment just take a screenshot and keep it safe.

All Mobile operating system

Smartphones today come with inbuilt function for taking screenshots but most of the people don’t know how to use it. It basically is done by a combination of keys which then makes the screenshot stored to the image gallery. Every smartphone operating system no matter iOS, Android, Windows Phone or BlackBerry all have a generic key combination to perform this function which works for both smartphones as well as tablets.

For iOS devices, iPhone or iPad or iPod:

iOS has a standard key combination of Power button + the Home key which takes screenshots and are saved to the Photo Roll.

For Android:

Generic key combination for Android devices are Power button + Vol Down key but Samsung Galaxy Devices work on Power + Home Key. The screenshots taken can be found in Gallery.

For Windows Phone:

Windows Phone prior to Windows Phone 8 does not have this feature. So it is the first WP release having this which follows the similar trend, Power button + Windows key.

For BlackBerry 10 and PlayBook OS:

Even BlackBerry OS did not have this feature inbuilt prior to BB10. For devices on earlier than BB10 needs an application to take screenshots but with BlackBerry 10 and PlayBook OS this can be done by pressing volume up and volume down keys simultaneously.

[How-to] Remove V9 Portal Site and en.v9.com Malware

EN.V9.COM is a browser hijack that generally comes with freeware which we install from the interet from no cost or optional fees with software having limited access as compared to that of premium features. This adware generally gets installed with the freeware during the installation process. If you click too fast you might miss to uncheck this option and then all of your site queries will be tracked by this adware. We suggest to remove this adware as soon as possible to protect your privacy and following is the step-by-step guide to how to do so.

V9 Portal Site homepage
Image source : Malwaretips

Remove en.v9.com from your computer

Check for unwanted applications that are installed on the operating system.
If there are any uninstall them from the control panel.

uninstall-a-program-windows

Remove en.v9.com from browser shortcut

This adware attacks our browsers to load en.v9.com on startup even if we don’t want to. For this we need to check the browser shortcut and remove the argument “http://en.v9.com”.

  1. To remove this, right click on your browser’s shortcut, and select properties.
  2. Next go to the shortcut tab and look for Target arguement.
  3. Remove the “http://en.v9.com … ” arguement and click save.
  4. Next reset the browser to remove all previous cache.
  5. If you still see any traces left run any enti-malware tool to remove it completely ( recommended )

V9-Portal-Site-shortcut
Image Source : MalwareTips

Now your PC is en.v9.com malware free and your privacy is only shared with Google because nothing can hide from them. Send us your responses and let us know what do you think about this guide.

[How-to] Set Any Video Clip As Live Wallpaper

Android is a very powerful mobile operating system. It can do a lot of stuff which a computer can or even more than that. We personally have been using Android devices as our work phones and we found them to be very productive. Android has number of functionality and possible customization which need to be discovered by you as an individual for your use case. One such customization is making a video clip as a live wallpaper.

Android is the only mobile operating system having the option to set live wallpapers. Live wallpapers or interactive wallpapers give a different feel to the device. There might be sometime when you have this thought that wish I could set this video as a wallpaper. If yes, then you are in luck because it’s possible on Android.

video live wallpaper

There is an application on Android called as Video Live Wallpaper by C.C.P. Cre@ions which makes it possible to set a video clip as a live wallpaper on Android. Below is the step-by-step guide on how to configure this app and get the live wallpaper ready.

selecting video live wallpaper

Visit the Google Play Store and search for Video Live Wallpaper.

  1. Install the application to your Android device.
  2. Long press on the home screen.
  3. Select to change wallpaper and choose live wallpapers.
  4. In the list you will find Video Live Wallpaper as an option.
  5. After selecting Video Live Wallpaper configure the video source in settings and leave the rest as it is.
  6. Go back, choose the video and there you go.

choosing video live wallpaper

Easy eh? If you have any queries leave us a comment below. You may also contact us on our Facebook Page or on twitter.

[How to] Enable 2-Step Verification On Gmail Account

With the increasing amount of cyber crime on the web one thing clear is that internet is not safe today. A survey which was organized by people from the industry states that most of the cyber crimes happen due to ease of access and carelessness for example weak passwords which are easy to break in.

Companies like Google, Microsoft, Dropbox etc. who own the web lodged so many complaints for such cases in-spite of continuous awareness campaigns. Following the pattern of OTPs which major banking systems follow, these web firms also went on the similar trend and came up with two step verification method so provide extreme security to make accounts least prone to the hijacks which were often reported.

2-step verification introduction

Two step verification method which is still not popular is the new standard to provide a security layer to your web accounts. Under this two step verification, a user is asked to activate the service on his/her account along with registering a mobile number. So next time whenever the user log-in to a new device he/she shall be asked to enter his password as usual ( or an optional randomly generated string ) and a compulsory verification code that will be received on his/her mobile number which will be only valid for this session.

2-step verification procedure

We strongly recommend every one to activate two step verification. Following is a step-by-step guide on how to activate two step verification on Google account similarly can be done on other web services.

    1. Visit your account page.
    2. Click on security on the left side pane.
    3. Select 2-step verification and click on edit.
    4. Get your mobile device verified with the Google account. First step is verifying the mobile number for two step authentication.
    5. After the verification process is done, you will be asked to keep this computer in trusted list or not. You may select that if you are using your own personal pc.
    6. And you are all set to go now. You have achieved two step security layer which keeps your account privacy and protects from attacks.

2-step verification success

How did you like this tutorial? Leave us a comment below or on our Facebook Page or mention us on twitter. Any special requests are always welcome and we will be happy to help you.

[How to] Force Reboot Smartphones With Non-Removable Battery

With the increasing demand of decreasing thickness smartphone manufacturers have been continuously innovating to bind beauty and the beast. Cutting edge design with super powerful chipsets is their call and in the process of achieving their goal there are some pros and some cons. One such cons is the use of non-removable battery.

Using a non-removable battery device undoubtedly has chances for a better build than compared with that of removable. For instance let’s compare the Galaxy S4 and HTC One. HTC One is a master piece, an exception in the smartphone industry whereas S4 though is good but nowhere near HTC One. Smartphones with non-removable battery have an advantage that they can have less thickness than a smartphone with removable battery as the non-removable battery is embedded into the casing which therefore decreases the thickness.

HTC One Edge

These were all pros but there are cons as well. Operating system no matter what is prone to crashes, freeze, hangs, lags etc. due to insufficient resources or improper utilization. Earlier when there were removable batteries on smartphones we used to tackle these issues but just removing the battery and inserting it again. This is called the hard reset. But now soft reset seems to be a difficulty as the number of smartphones opting for non-removable batteries are increasing day by day. Now there should be an alternative for this to hard reset the device and the developers figured out a way and set it as a standard to force reboot the device.

Starting with the iPhones which never had a removable battery, the standard way to reboot if the os stuck somewhere is to hold and long press HOME + POWER key and wait till the device reboots. This basically does a hard reset which clears off the RAM and the process which made this happen is no longer in the volatile memory.

Hard Reset iPhone
Image source: Wikihow

Similarly on Androids Google thought to implement this and came up with a combination of POWER + VOL DOWN which generally all smartphone vendors implement but it may vary. For example, some of the devices may just force reboot by long pressing the home button whereas some may implement this as per the standards.

Hard Reset Android

So whenever you are stuck with a screen freeze you may follow this guide and give us a heads up if it helps. In case there is a demand of anything specific you can drop us a comment below or contact us on our Facebook page or twitter handle @idigestindia